Use a Gas Fireplace Insert for the Ultimate Masonry Fireplace Upgrade
Installing a gas fireplace insert into an old masonry fireplace can be a great way to update your home and improve heating efficiency. Here’s a general guide on how to install a gas fireplace insert, but keep in mind that specific steps may vary depending on the brand and model you choose. It’s always a good idea to consult the manufacturer’s instructions and, if needed, hire a professional for assistance.
1. Measure and Select the Right Gas Fireplace Insert
Measure the dimensions of your existing fireplace to ensure you choose an insert that fits properly. Consider factors such as heating capacity (BTUs), style, and fuel type (natural gas or propane) when selecting the insert.
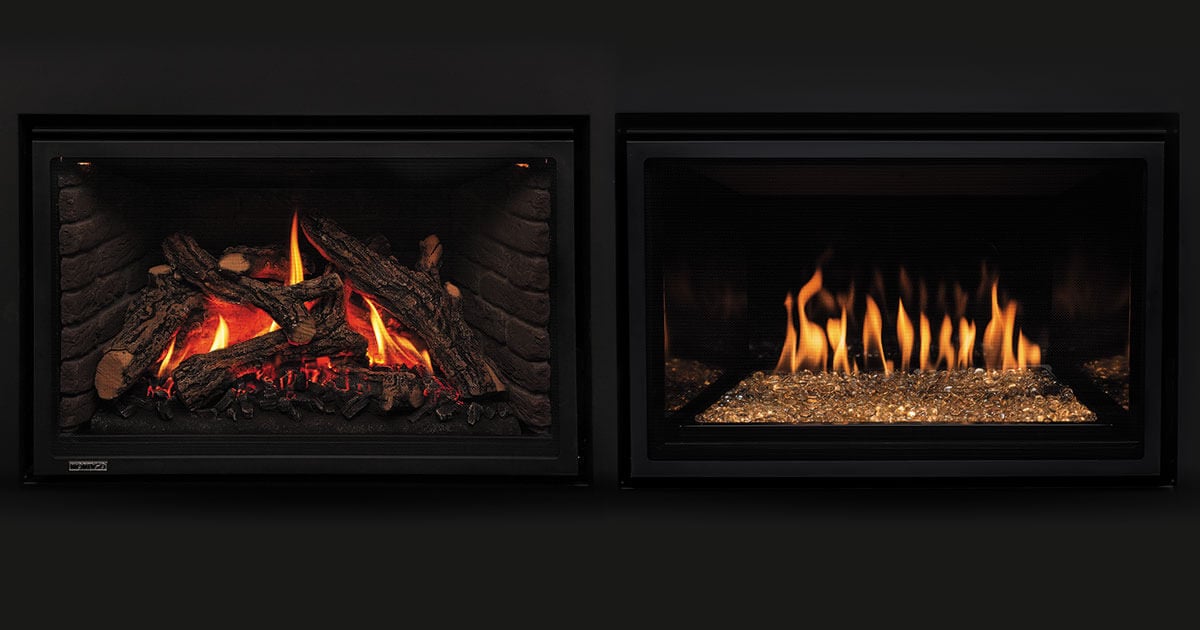
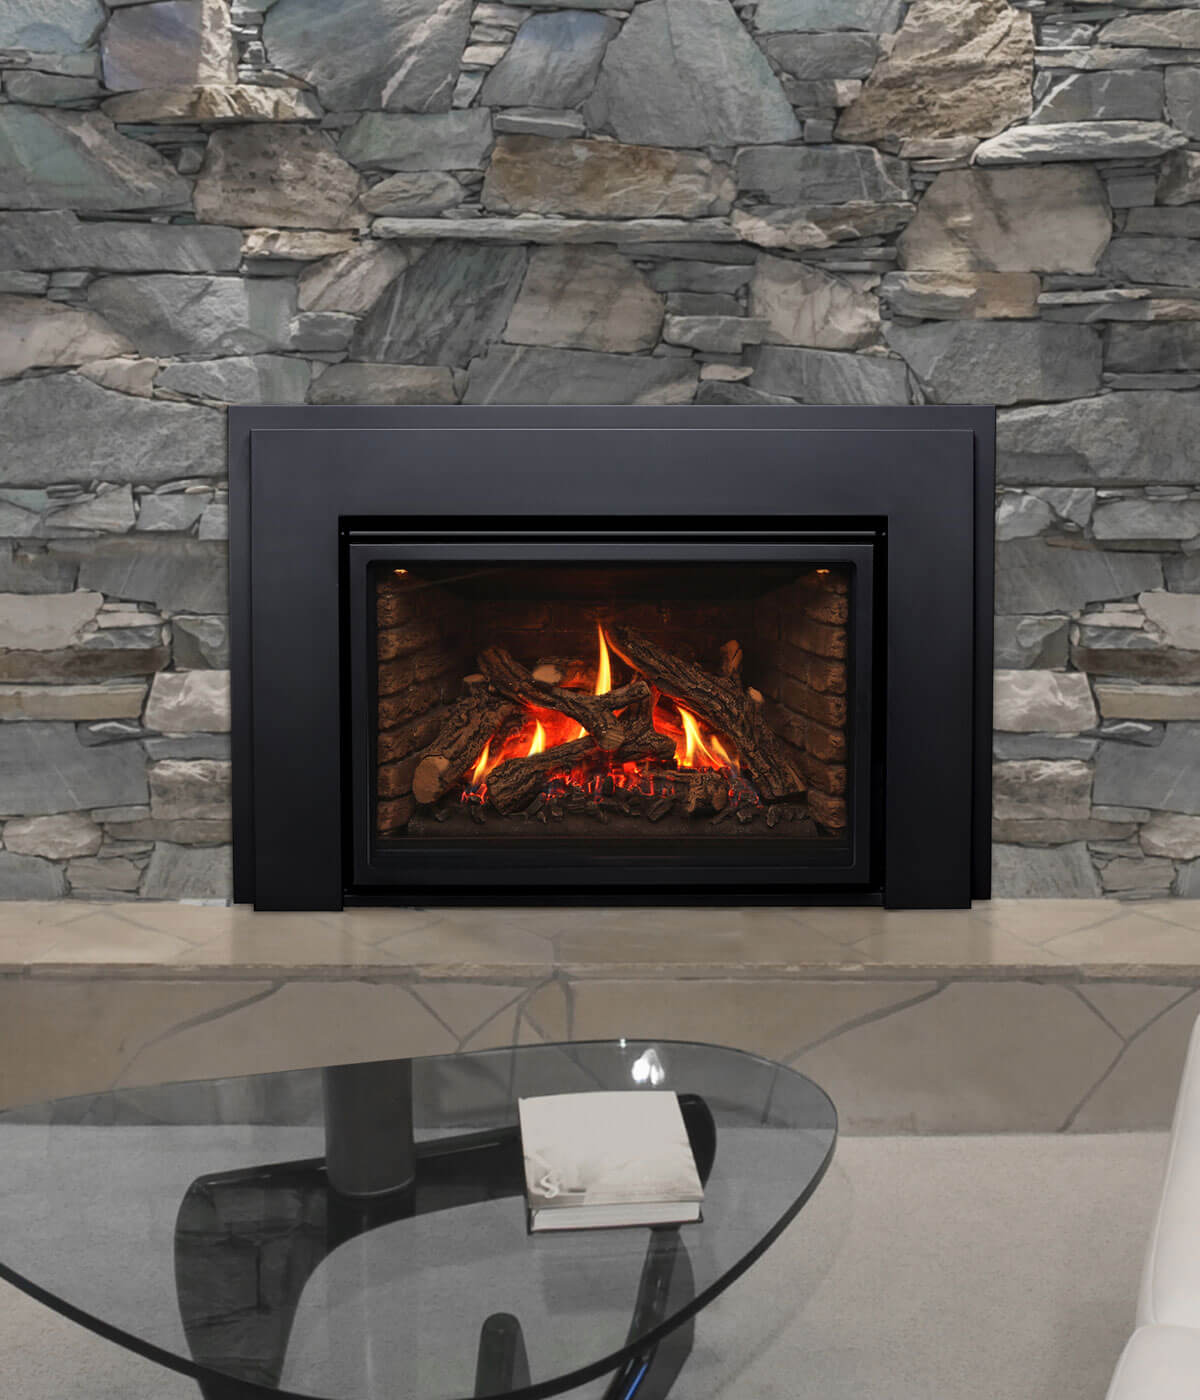
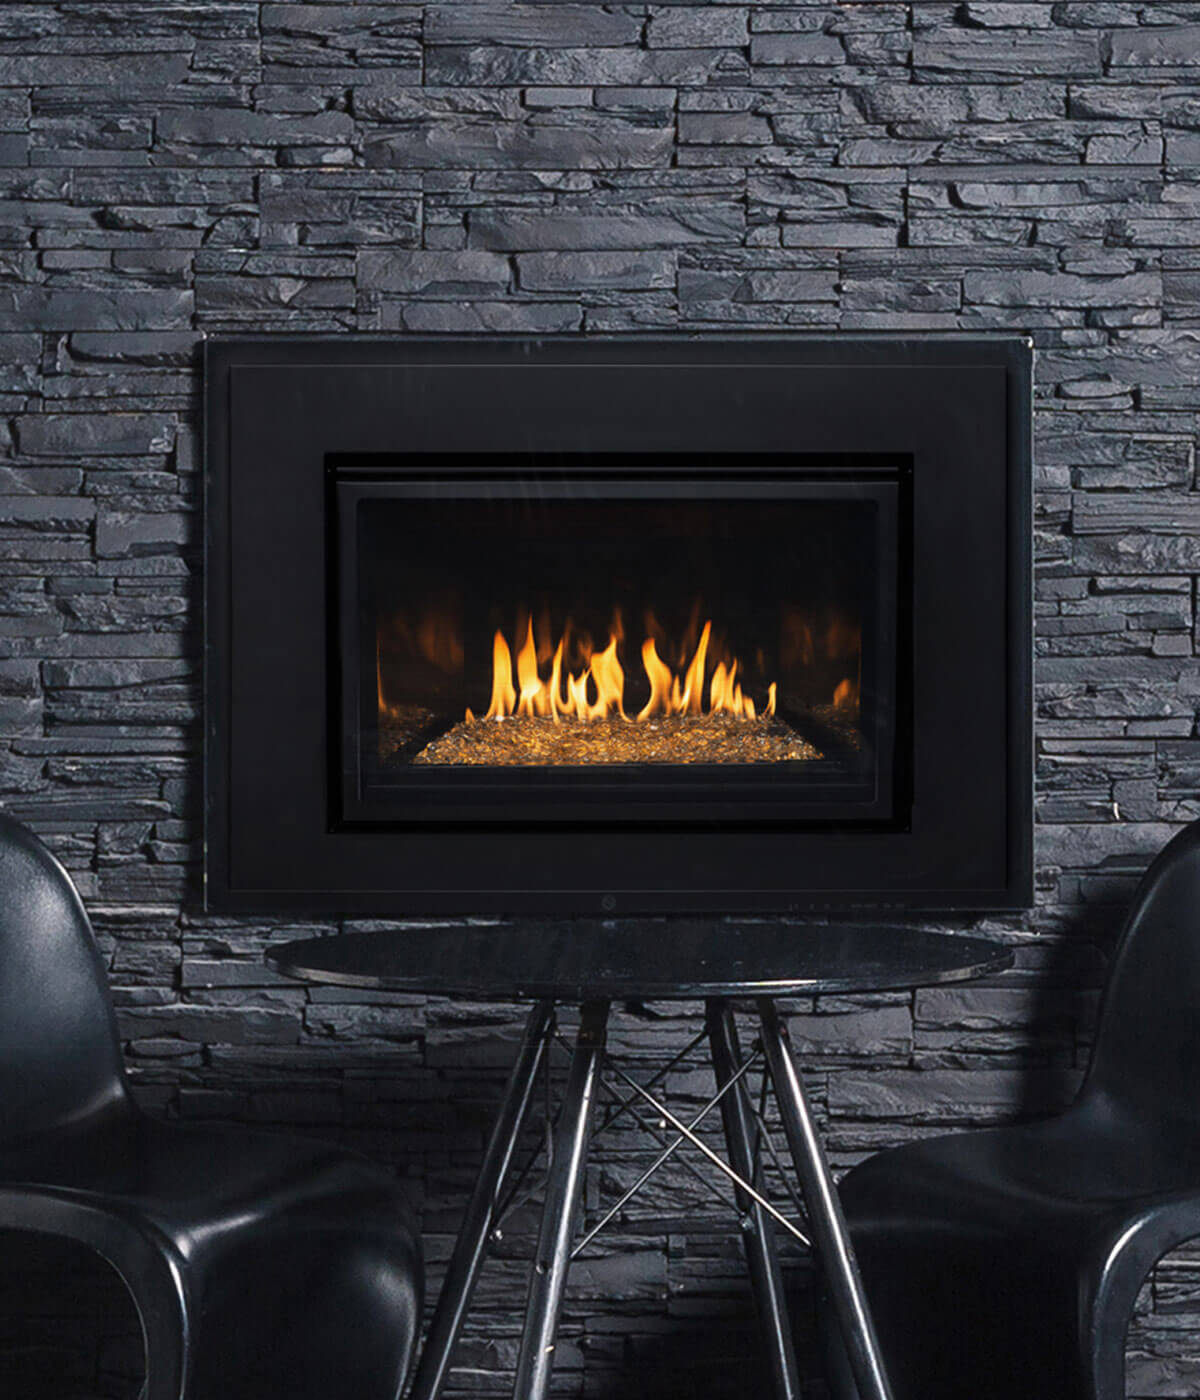
Depending on your personal style, there are options for a traditional log aesthetic, or a sleek and modern update with glass media.
2. Prepare the Fireplace
Clean the masonry fireplace thoroughly, removing any debris or obstructions. Check for any structural issues and address them before proceeding. Ensure the chimney and flue are in good condition and meet the necessary safety standards.
3. Install a Venting System
Gas fireplace inserts require proper venting to safely exhaust fumes. Depending on your specific model, you may need a flexible vent liner or a rigid vent pipe. Follow the manufacturer’s instructions carefully to install the venting system correctly. In most cases, you will need to hire a professional to install the venting system.
4. Connect the Gas Supply
If you don’t already have a gas line in the fireplace, you’ll need to run a new one. Hire a licensed professional to install the gas line and connect it to the insert following local building codes and safety regulations.
5. Install the Gas Insert
Carefully position the gas fireplace insert into the masonry fireplace, ensuring it fits securely. Follow the manufacturer’s instructions to connect the insert to the gas supply, venting system, and electrical components (if applicable). Secure the insert according to the manufacturer’s guidelines.
6. Test and Adjust
Once the installation is complete, test the gas fireplace insert to ensure it’s working correctly. Check for gas leaks using a gas leak detector solution. Make any necessary adjustments to the flame height, pilot light, or other settings as per the manufacturer’s instructions.
7. Follow Safety Guidelines
Familiarize yourself with the safety guidelines provided by the manufacturer and adhere to them strictly. It’s important to have a working carbon monoxide detector in the room where the gas insert is installed.
Enjoy Your New Gas Fireplace Insert
Although a gas fireplace insert installation can be complex and involve potentially hazardous components, the upgrade is worth it. Not only is the improved appearance a welcome change, heating efficiency is significantly better with an insert. If you’re not confident in your abilities, it’s recommended to hire a professional installer who is experienced with gas appliances to ensure a safe and proper installation.
Ready to jazz up your old wood burning fireplace? Contact a Montigo dealer today to start planning your project!
