Simplifying Termination Vent Restrictors
Did you know that most flame issues can be solved at the installation stage by using vent restrictors?
By planning out the vent run and then using this plan to install and set vent restrictors accordingly can eliminate the most common flame issues.
While every install is unique, knowledge of how a vertical heavy run vs a horizontal heavy vent run, along with quantities of elbows can assist in knowing which restrictor to use.
A common installer question is: “Why would I install a vent restrictor at the termination rather than at the fireplace itself?”
The main reason is that a restrictor placed in the firebox can lead to increased glass temperatures and risks glass failure. Additionally, if the restrictor is installed at the termination before constructing the vent system, then placing the termination restrictor is virtually as easy as installing a firebox restrictor.
The restriction may be too closed if:
- The flame is excessively tall or ghosting
- The flame is too still and candling
The restriction may be too open if:
- The flame height is low
- Flame has excessive movement
Divine, Phenom & DelRay Linear Series
Vertical Vent Restrictors
4″ / 7″ Venting
MVVR-8 8′ to 14′ Vertical Restriction
MVVR-15 15′ to 24′ Vertical Restriction
MVVR-15 25′ and up Vertical Restriction
5″ / 8″Venting
PVVR-8 8′ to 14′ Vertical Restriction
PVVR-15 15′ to 24′ Vertical Restriction
PVVR-25 25′ and up Vertical Restriction
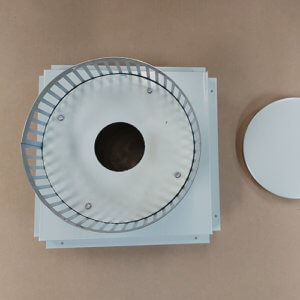
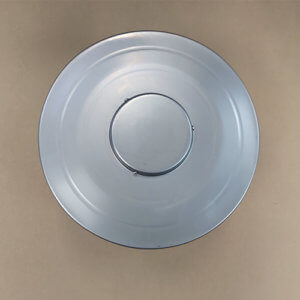
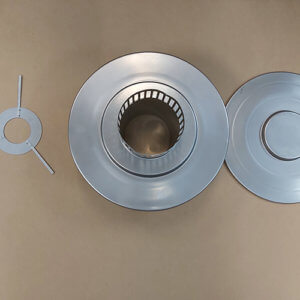
Installation Instructions:

Divine and Phenom Series
Horizontal Vent Restrictors
4″ / 7″ Venting
MHVR-8 8′ to 14′ Vertical Restriction
MHVR-15 15′ to 24′ Vertical Restriction
MHVR-15 25′ and up Vertical Restriction
5″ / 8″ Venting
PHVR-8 8′ to 14′ Vertical Restriction
PHVR-15 15′ to 24′ Vertical Restriction
PHVR-25 25′ and up Vertical Restriction
Installation Instructions:
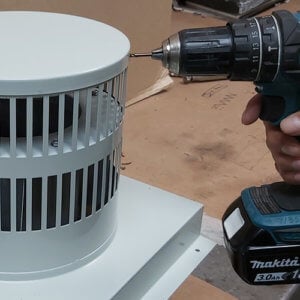
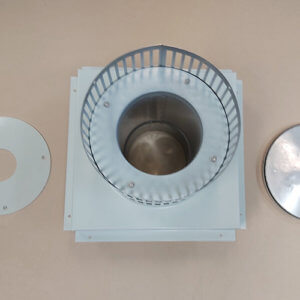
Using four self tapping screws: ensure center location.
Re-install cap assembly with rivets or screws.